
Scanning is the fastest way to add a receipt in facturillo: you point the camera at the receipt's code and the app does the rest. This guide walks you through your first scan, start to finish.
Before you start
- The first time, allow facturillo to use the camera when it asks.
- Have an electronic receipt handy with its QR code (or its printed CUFE).
- Connect to the internet: at the end of the scan the receipt is confirmed with the DGI.
Step by step
On the main screen, tap the scan button (the QR icon). The first time, a quick 5-step guide opens: move through it with Continue and, at the end, tap Start scanning.
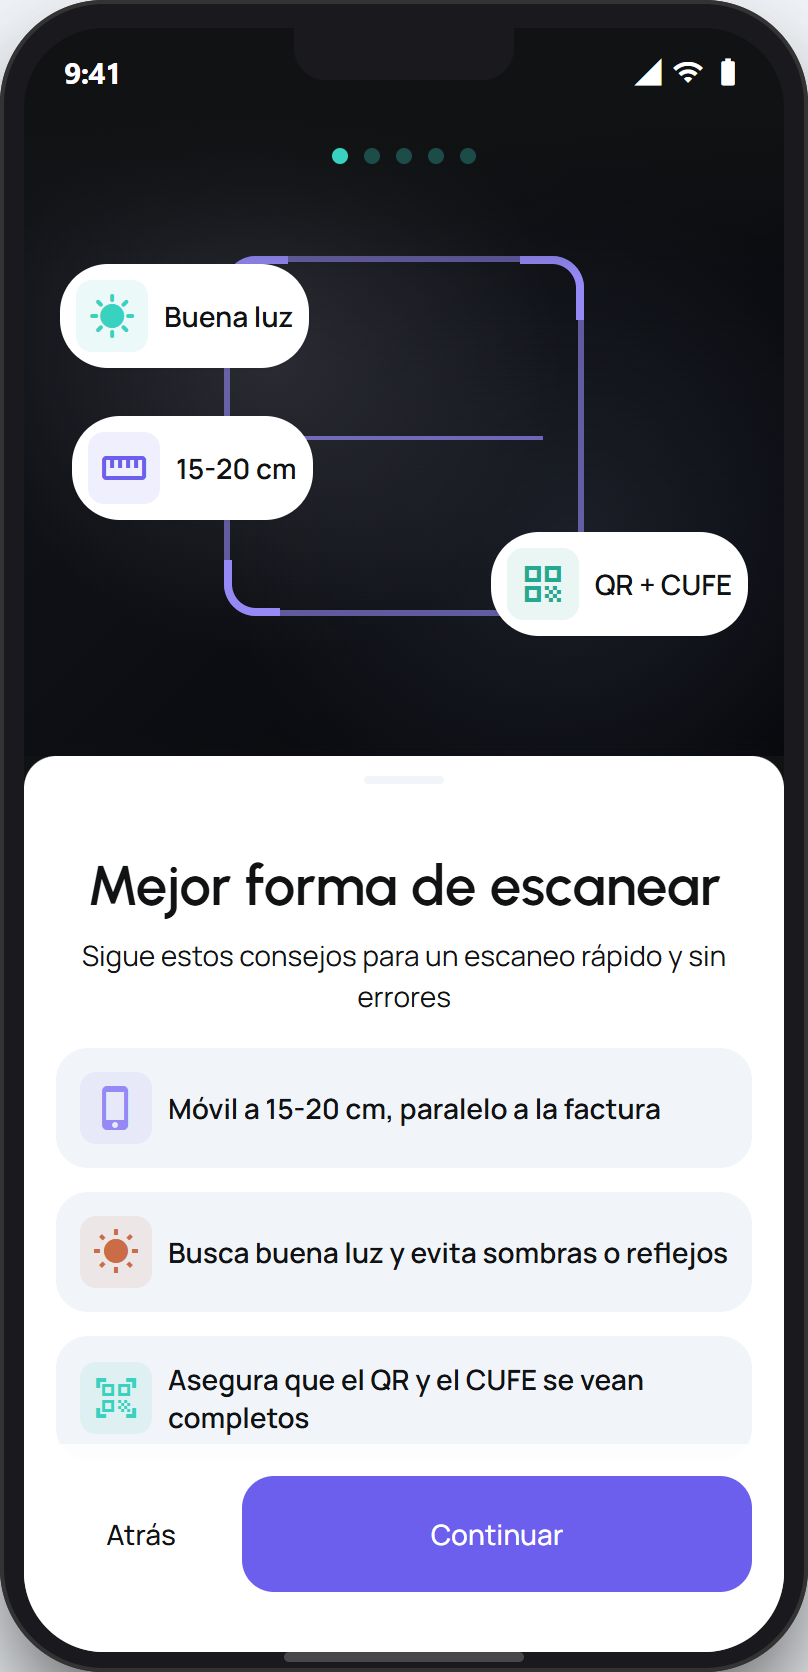
Point the camera at the receipt's QR code and frame it inside the box. The Escanea el código QR y CUFE card guides you. To read it well: good light and the phone about 15 to 20 cm away. facturillo detects the code on its own, you do not have to tap anything.
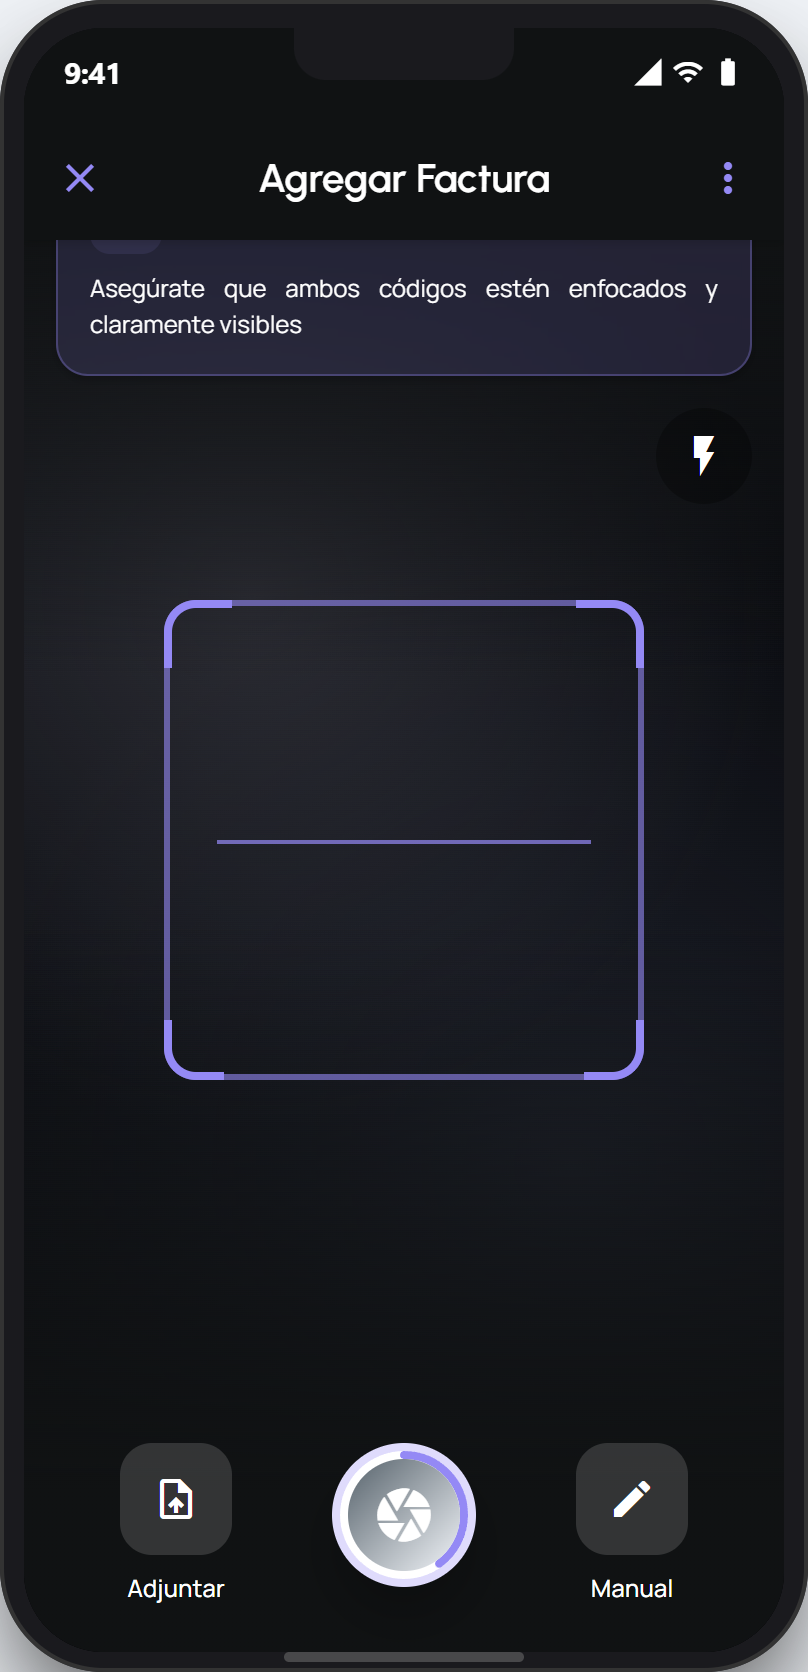
If the QR will not read
Use the center capture button to take a photo of the receipt (it enables after a few seconds), or tap Adjuntar to upload an image or a PDF. You can also type the CUFE by hand.
Wait a few seconds. facturillo sends the code and confirms the details with the DGI; when it finishes you will see the receipt-added screen and the receipt is in your list. To keep going, tap Escanear otra.
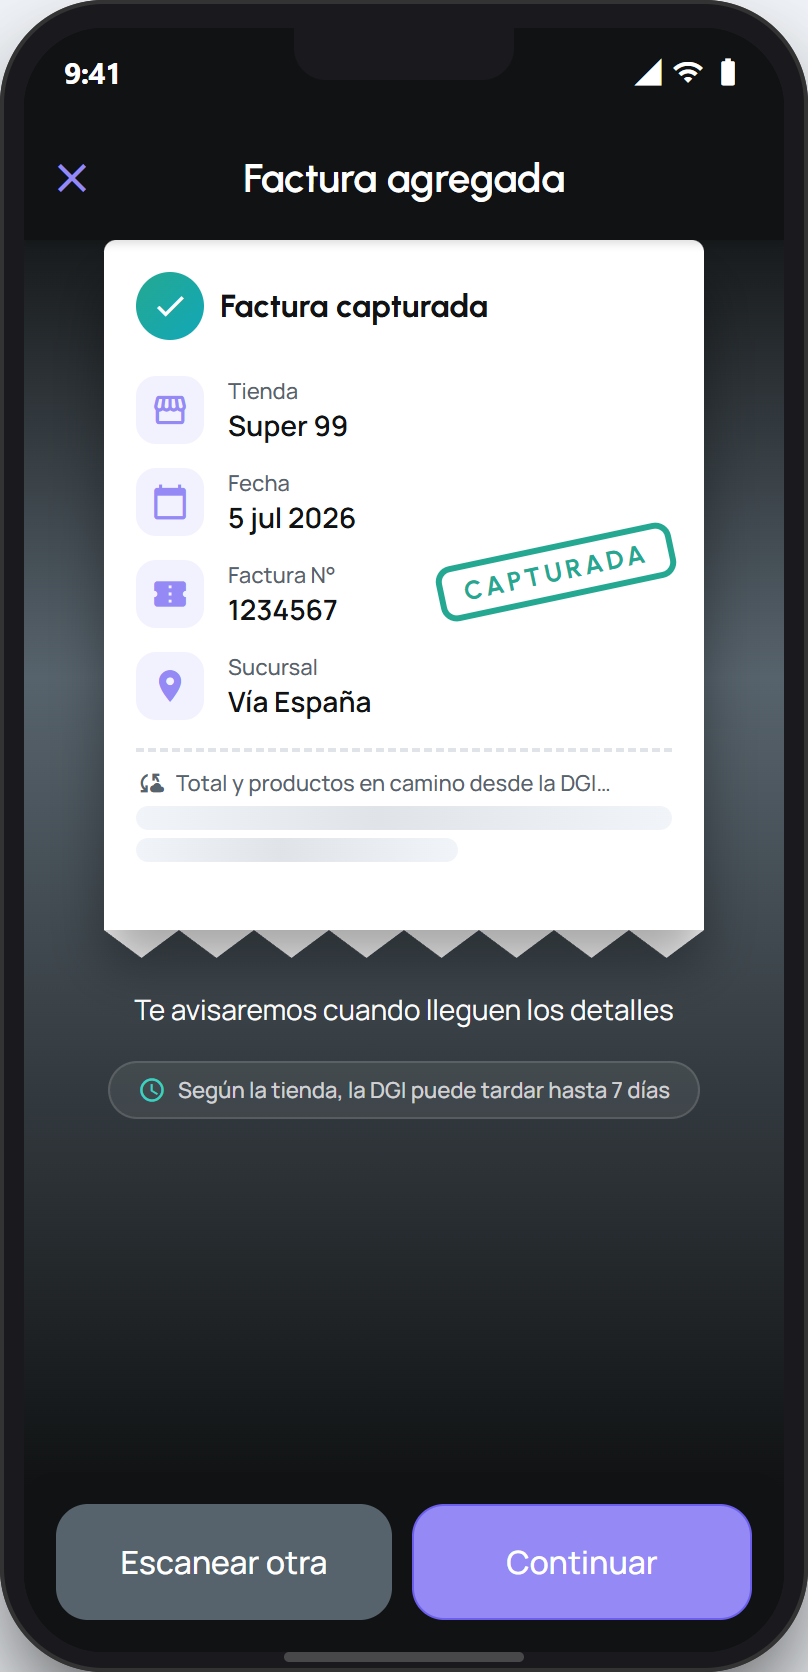
Most receipts are added in seconds. If you want to understand what happens behind the scenes (how the QR or the CUFE is read, the DGI check, and the states a receipt goes through), read the guide on how scanning works.